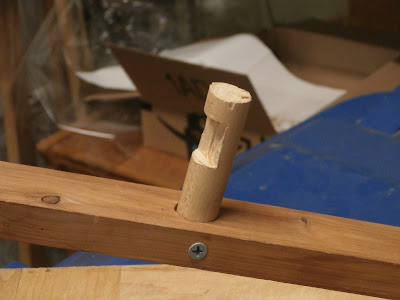
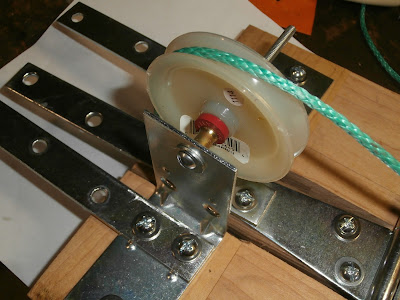
I disassembled the T-shaped pry scale and reassembled the first model, this time with broader pry bars. This necessitated drilling a couple of more holes in the wood and through the metal bars.
I cut a notch into the dowel that holds the scale to keep the scale from slipping.
Next, I had to provide a rigid lifting bar. I looked into my odd and ends and found some metal shelf racks. I cut them to 16-1/4 inches (the width of the hive) and cut a notch in the center wide enough for the pry bars.
Unfortunately, the notch made the bar too flexible. Fortunately I had the narrow metal strips from the first iteration.
This made the bars unbendable....at least in vitro. I removed the shims from under the hives and put the lifting bar in place.
Now for the test: it sort of worked. There was still some give in the lifting bar. I had to press the lever to its limit to lift the hive and the hinged piece hit the pulley. This gave an inaccurate weight of the hive.
I tried putting a screw below the lever to limit its downward arc, but this did not solve the problem of the flexing lifting bars.
I have more ideas. Stay tuned for the further adventures of Pry scale- part IV.


