First I needed plans. I wrote to Caroline and she graciously sent me her plans. Of course, I had to make one change; I wanted to make a screen bottom. I found plans for that here. This had to be made longer, naturally.
I am not a carpenter, nor do I play one on TV, so I needed to find someone who had knowledge and tools. Maidi had met Collette at spin, and she is a builder. She expressed interest in building the hive with me.
I attached my old Yakima racks to my Volt and went shopping at San Lorenzo Lumber for 12- foot planks of pine 1x12 and 1x6 as well as a couple sheets of plywood. Then I set a date with Collette, expecting it to be a 3 to 4 hour project.
At first it went quite well, building a long box. Unfortunately, one end was not flush and when I tried to even it (using Collette's planer), I had difficulty setting the depth of cut and ended up making the box 1/4" too shallow. I went back to the lumber yard and then to Collette's and built a second box.
We used her router table to build the side bars of the screen bottom board, and even though I did a kind of sloppy job, it worked okay.
 | |
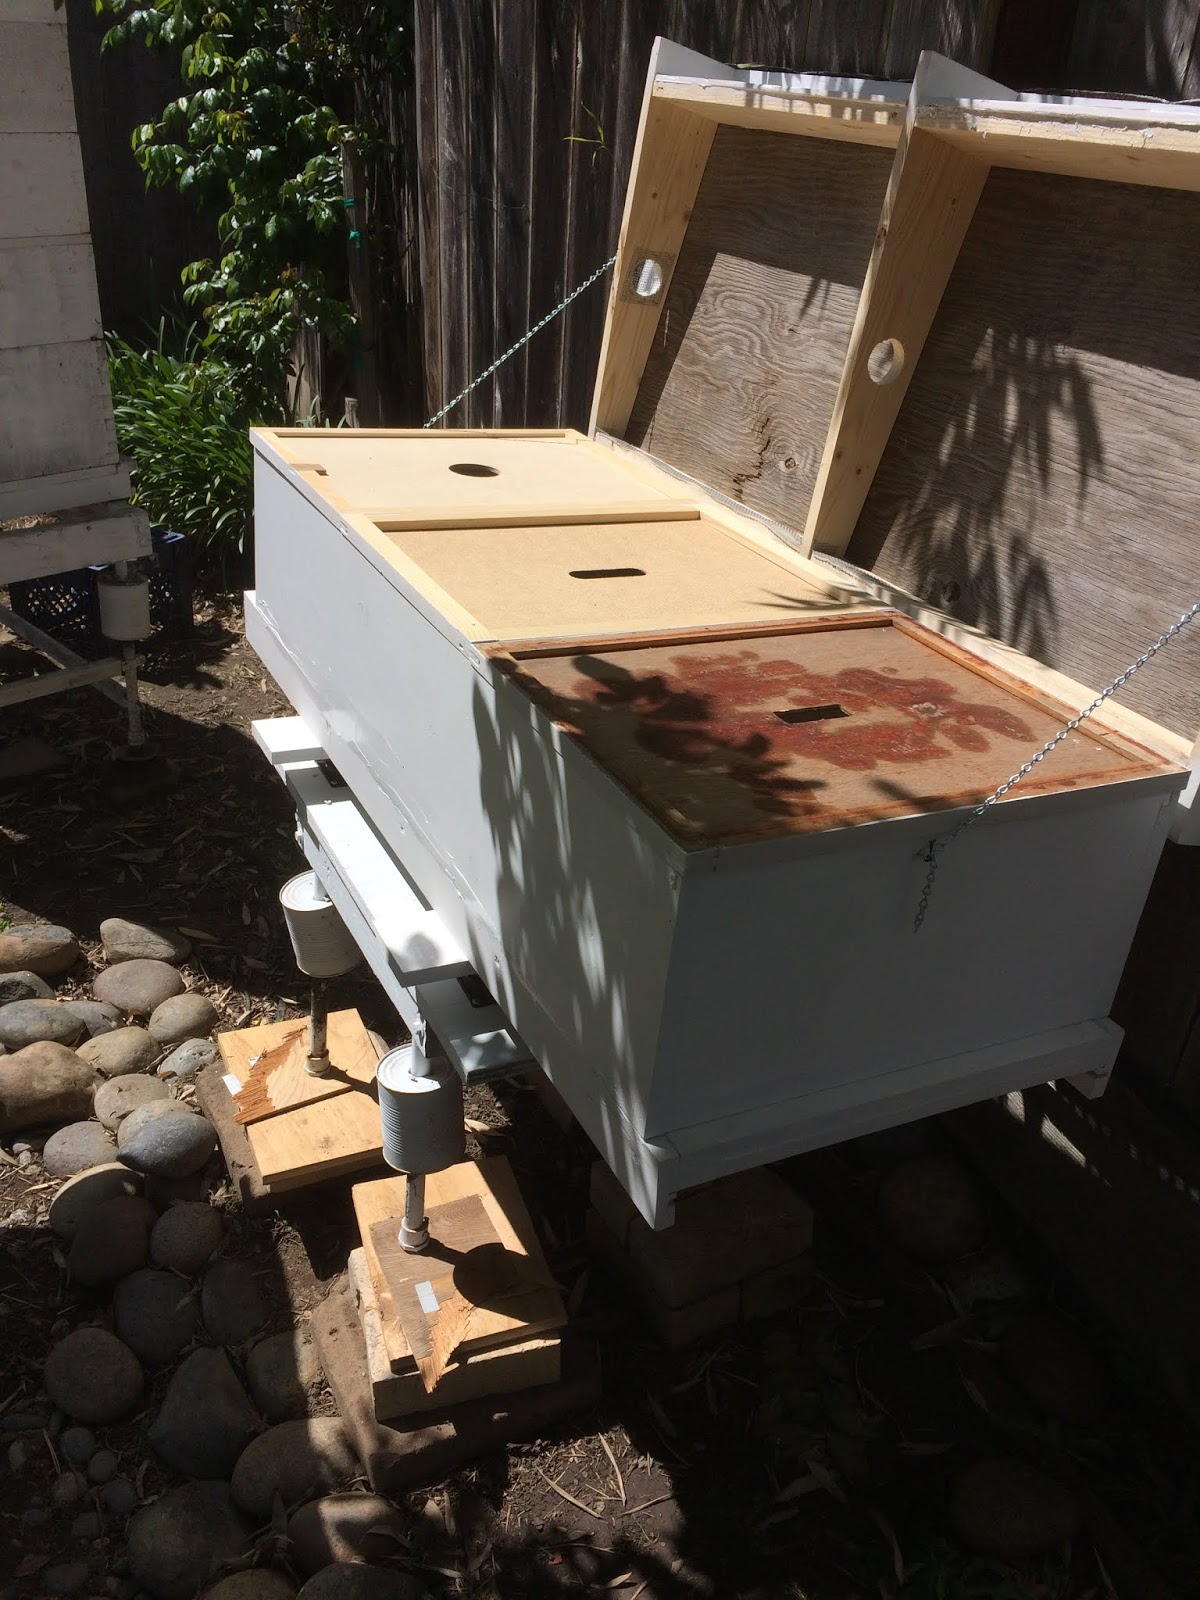
| The box sitting on the screen bottom. Still needs to be painted |
 |
| The roof on top of the hive box |
 | |
| Inside view of the roof showing communication and vent holes |
I covered the roof with roofing paper left over from building the garden shed. Then I had to figure out how to attach it with hinges. Collette had suggested a piano hinge, which sounded great. Unfortunately, I had not realized that the roof sat on and exposed the sides of the inner covers and the hinge I had was not wide enough. Nor did any local hardware stores a wide enough hinge. An online search found what I needed, and a few days later I had my hinge. Of course, it was too long, but I new that in advance and sawed it (with some difficulty) in half.
I was able to attach the roof and put on chains to limit the opening, and all set! Or so I thought.
Problem #1- I had used 3/4" plywood for the roof and it was so heavy that when the roof was opened it would tip the hive over.
Problem #2- The hive components did fit flush in several places. Bees will fill small cracks with propolis, but these were not small gaps.
Solution #1- Dismantle the roof and rebuild it with 1/2" plywood. Fortunately I had an old (<40 yrs.) sheet to use. Re-assembling the roof was quite difficult.
Solution #2- fill all the gaps with white, 100% silicon caulk. Cut narrow strips of wood and glue them to the edge of the roof to make a better fit.
Now, done!


The swarm is very small and I have been watching it closely for the past two weeks. If it wasn't doing well today, I was ready to make a split from #1 (which is very strong). However, there was capped brood. This colony is so small that they cover a patch about 4 inches in diameter on three sides of frame. I decided to give them more of a chance and transplanted a frame of brood and nurse bees from #1. We'll see in another week. I can always make a split or capture another swarm.
Thanks for reading this. Stay safe and stay well.
No comments:
Post a Comment