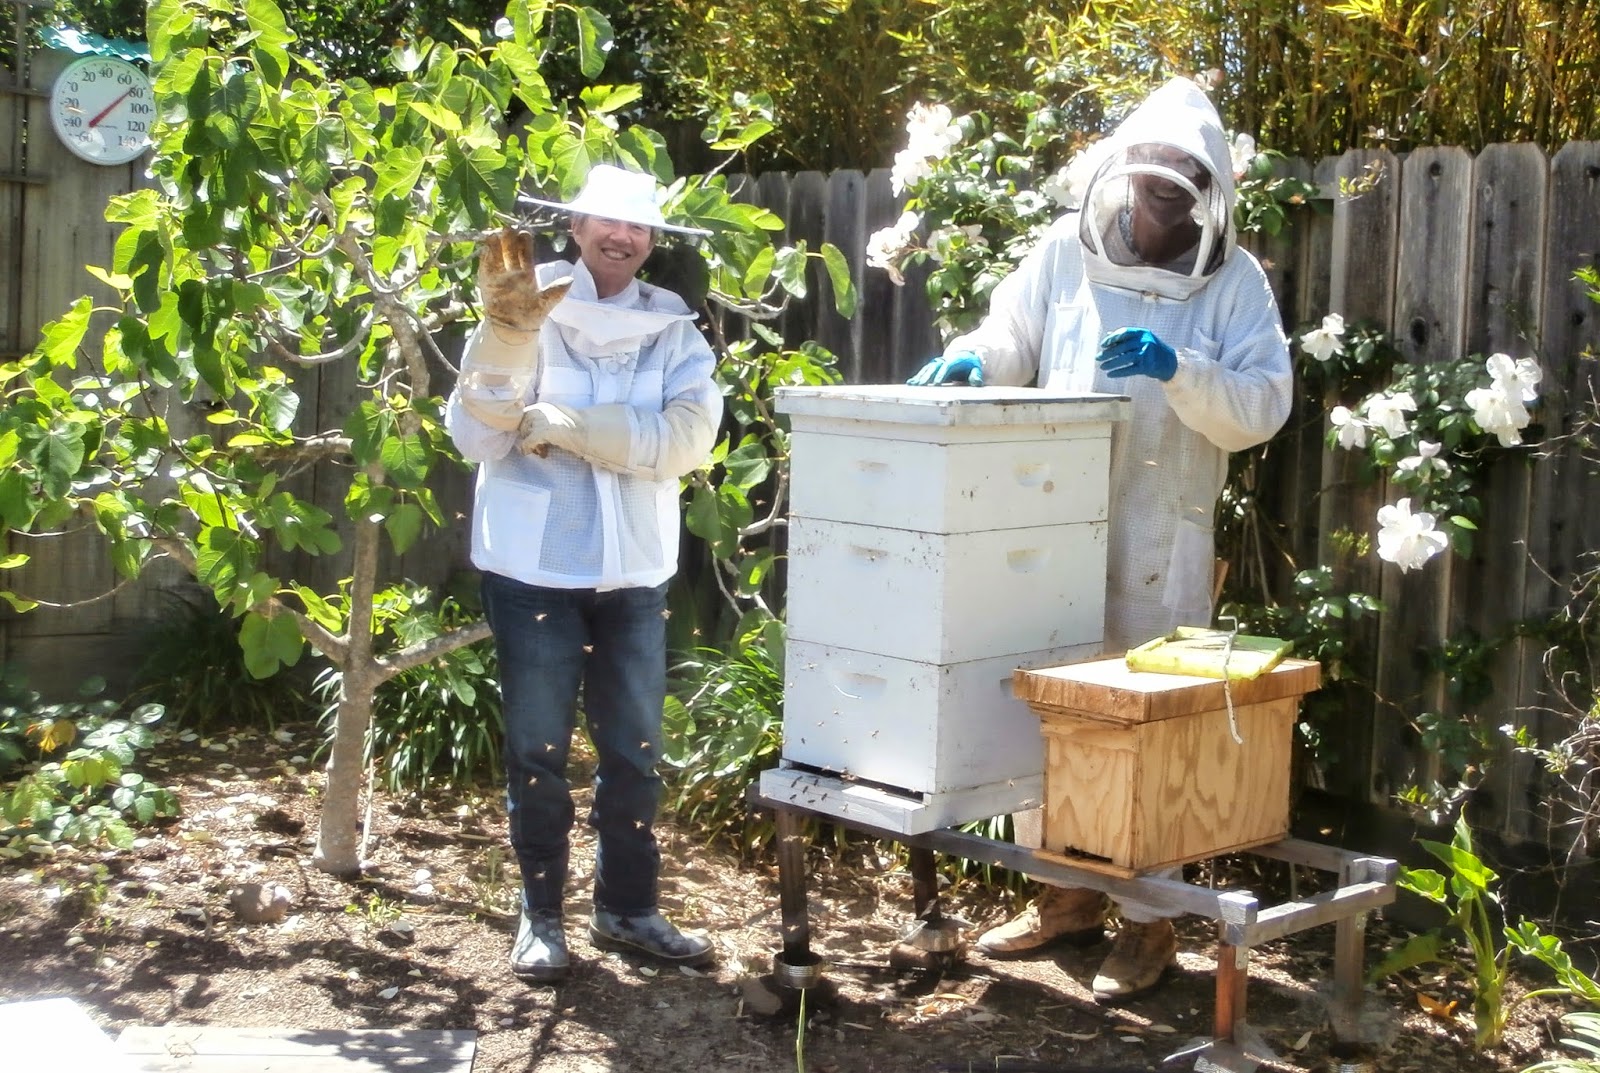
Monday, May 4, 2015

Hive #2 has larva!


Yes, it is true.  There are larvae in #2.
I went into the hive yesterday with some trepidation, fearing what I would find, or more to the point, what I would not find.
The super did not have significantly more honey so no need for a second super.
This is what I saw after taking off the super.  If a hive is strong, there will be a large number of bees on top of the frames like in the small photo.
https://www.gnb.ca/0171/10/images/b40b.jpg
I was pleased to see that these were all workers, no drones.


When I looked at the individual frames, my hopes took a dip.  Lots of drones and empty brood cells,
The old supersedure cells not yet completely broken down
Capped honey, drones and some workers
Empty brood cells.  Also note the paucity of workers

Frame completely covered with drones.  Maybe one worker


Then I went into the bottom box.  Still a lot of drones but there were larvae.  They looked 4-5 days old.  I did not see any eggs.  I looked unsuccessfully for the queen, but I did see this:
This is a chewed open queen cell.  It is at the top of the frame, the site of supersedure cells.  What does this mean?  A good question.  Maybe the queen from the first group did not make it and the workers made another one (or more).  This queen is the one who is laying.  In any case, it looks like #2 is queen right.  I do worry (of course) that there may not be enough nurse bees and considered shaking in some from another hive.
There was no wax drawn on the drone frame.  Later I tried melting wax on the frame with the hair dryer.  The wax melted but the small pieces just blew away.  I then melted wax in a double boiler using a can.  Painting the wax on did not work too well so I poured it on and spread it with a brush.  The result:


Saturday, May 2, 2015

Dinah gets her bees

Dinah put her packages into the two top bar hives.  I was there to lend moral support.  Another beekeeper!
Dinah's apiary all ready for the bees

The feeder placed inside an empty box.  The viewing window in on the left

A clever means of and control.  The basin will be filled with oil and the cup keeps the oil off the leg.

A proud beek with her first bees

The bees in the first hive and the bars being placed.  Note the brave, bare hands

The hives are named and branded.  This is Raven.

Happy bees at the entrance of their new home, Nasonov fanning.

Shaking the bees into the second hive


Placing the last bar

Lone Star hive

Thursday, April 30, 2015

I hope to someday know what I am doing

Today I went into #3 to see how it is doing and to swap out the drone frame.  This is the hive from which a made the brush swarm for Olea's.  11 days ago, which was 4 weeks after making the shook swarm, I saw larvae, so I figured everything was ok.
Today, however, I saw only capped worker cells and no larvae or eggs.  I did not see the queen, either.  There were lots of drones, especially in the honey supers and a few capped drone cells.
There were a fair number of drones in the deep box as well.  There were apparently empty cells in the brood frames.  Perhaps there were eggs that I could not see, but with no larvae seen, I fear something's amiss.  I emailed Kathy Niven to ask her advice.
I was told that five of my queen grafts that I made at Davis developed into queen cells.  One of the other students, from Paso Robles, took them.
While I was looking for the queen, a piece of honeycomb broke off one of the foundationless frames.  There was more honeycomb under where it had been.  I tried it- yum!
Pen for size

As in hive #2, there was no wax drawn onto the drone frame.  So I searched on the net fro problems with plastic foundation.  Sure enough- if plastic foundation has been scraped of old comb (which mine had), the bees will not draw comb on it until it has been re-coated.  This can be done in a number of ways.  I think I will put the wax onto the frame and use a hairdryer to melt it.

Wednesday, April 29, 2015

Olea's hive continues to grow

I took a quick look into the top bar hive this afternoon.  This is what I saw after taking off the follower board.  This is bar 14.  I added two more bars, one on each side of this comb.  I did not look further into the hive.

Saturday, April 25, 2015

Good news and (possible) bad news

Preparing to go into #2 with Dinah
Friday I went into the hives with Dinah.  Dinah will be getting 2 packages of bees next week and I will help her hive them in her top bar hives.  She got the hives from Bee Thinking.  They are quite nice with a hinged roof and a viewing window that runs the complete length of the hive.  They are a bit larger than mine.
After I visited her potential bee yard, she came over to look into my hives wearing her new bee jacket. 
We first went into #2.  This was the hive in which Matt and I had seen supersedure cells.  By my calculations, enough time had passed for a queen to have emerged, removed her rivals, mated and started laying.  I was prepared to add a second super, if needed, and planned to remove and replace the drone frame I had put in 3 weeks earlier.  So now the bad news.  There did not seem to be much more honey in the super than last visit.  In the top box were lots of drones.  By lots I mean that several frames were covered with drones with only a few workers among them.  There were a couple of capped drone cells in the top box and we saw one drone emerging.  There were some empty cells and try as I might, I could see neither eggs nor larvae in them.  In the bottom box it was pretty much the same; lots of drones and empty brood cells with surrounding pollen and honey.  Some of the empty cells had liquid in them so there may be eggs/larvae there.  We did see the supersedure cells that were now empty and being dismantled.  The drone frame was pretty much unchanged from when I put it in, so I took it out and put in a different frame.
So what was going on here?  When I saw all the drones I feared a queenless hive with laying workers, but in that case I would have expected drone larvae and capped brood.  The empty supersedure cells implies that the queens had at least emerged.  I fear that hive #2 is in trouble- queenless and doomed.  However, a ray of hope.  I re-counted the days since seeing the supersedure cells and it had been only 3 weeks.  So if the queens emerged 7 days after I saw them and then another week for her to mate and start laying, then when I looked Friday, she may have been laying for only a 6 days and therefore the larva would have been 3 days old at the oldest and easily not seen.  You can tell that I am making that ray of hope into a searchlight!  We will see in a week or two.  Fingers crossed.
Now the good news.  We then looked into the nuc.  It was full of bees and all five frames had capped brood and some larvae.  And we saw the queen, a beauty!  I put the five frames from the nuc into a deep box with five frames of empty, drawn comb.  Hive #1 is back!
Activity at #1's entrance Saturday
The apiary now

Friday, April 17, 2015

Olea's brush swarm is expanding

On March 12 I populated Olea's hive with a brush or shook swarm from hive #3.  I have been watching it through the observation window and it seemed to be doing well.  Initially it was fed 1:1 sugar syrup but I removed the feeder at the beginning of this month.  I had manipulated comb on March 29 to prevent cross-combing, but other than that Olea's hive had been left alone.  Yet I had to look, so I went in yesterday.
The girls had drawn comb out to bar 10 (counting from the entrance).  10 was not completely drawn and was about 2-hands size.  On 11 was a thumb sized nub of comb.  I switched 10 and 11.  There was a small patch of capped brood on 8 and larger patches on 6 and 7.  I did not look any further, nor did I see the queen.  There was not any honey on the frames I inspected.  I added two more top bars with spacers and moved the backboard.  I will use spacers with any more added bars.


I also checked the honey super on #2; it was only about 1/2 filled so I did not add a second super.
With great will I resisted the temptation to look into the nuc.  It will be 4 weeks in another 8 days.

Tuesday, April 14, 2015

Queen rearing class

This past weekend I attended the short (2 day) queen rearing class given at the UC Davis Apiculture center.  It was run by Elina and Bernardo Niño.  The class consisted of a series of talks, visits to the apiary for demonstration of techniques and hands on practice of grafting.  I learned quite a bit and had a chance to meet and chat with other beeks.  The most basic lesson I learned is that my apiary and goals are not conducive to queen rearing!  However, I will share with you what else I learned.
There are several methods to rearing queens all of which make several queens at a time.  What they all have in common is firstly one needs a cell builder hive, a queenless box full of nurse bees who make the queen cells and secondly, a finisher, usually a queenright hive with a queen excluder where the cells are taken care of.  One can use the starter hive as the finisher, but to do so the cells all need protectors.  In either case, when the queen cells are 10 days old, a couple of days before they are expected to emerge, they are moved into mating nucs, one queen per nuc.  These nucs are queenless and are made of open and emerging broods, a frame of honey and pollen and lots of nurse bees.
What this means is that if I successfully made 15 queen cells, I would need 15 mating nucs, a total of 60 frames of brood!   With my two hives, I have maybe 10-12 frames of brood, and, of course, I would not want to take all the brood from my hives.  I think I'll stick to my one queen at a time by making splits as I have been.
Grafting is the most common method to rear queens as it produces large numbers.  One takes 1-2 day old larvae and places them into queen cups that have a small amount of royal jelly in them.  15 cups fit on a bar and the special frame holds 3 bars for 45 potential queens.  Finding the larvae requires strong light and good eyes or magnification.  There are a variety of grafting tools available and they all require practice.
Here is my grafting station set up and ready to go.  We need to keep the larvae moist with a damp paper towel.  Using the pipette to place the royal jelly was a skill I lacked.  I had a difficult time even finding the larvae using a magnifier.  As Elina said, if you can see the larva it is too big (old).  Then I would often push the larva against the cell wall rather than scooping.  I did manage to graft the right size into the cup with the proper amount of royal jelly less than 10% of the time.
The second day, we looked to see how the grafts were doing.  These are someone else's cups.  The bees have started building the cells around some.  The other cups either did not have a larva, the larva was drowned in the jelly or it was too old.
We can go back on the 20th to pick up our queen cells, but I will not be able to go that day so any queens I made will go to another student or to Bernardo.
Other methods we learned were Miller, Hopkins and Jenter.  The Hopkins uses q-tips to protect selected larvae.  The rest of the larvae are killed by sprinkling on powdered sugar.  The q-tips are removed and the frame placed horizontally in a queenless box.  When the cells are capped, they are pinched or cut out and placed into the mating nuc.  This shows drawn queen cells using the Hopkins method.

A frame held by Bernardo demonstrating the Jenter system.
Bernardo likes to use a queen castle as a mating nuc.  It is a large box that is essentially four, 2-frame nucs each with its own entrance.
Bernardo's queen castle